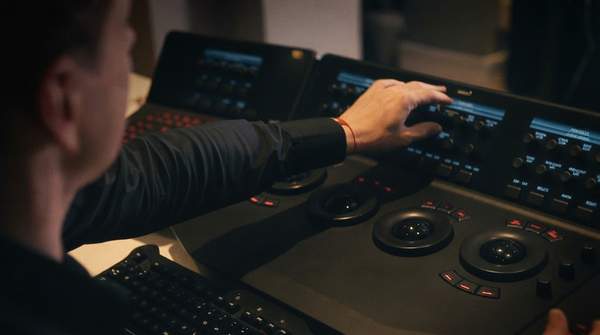
Professional color grading is not a single pass with a few sliders. It is a two-stage process: a technical correction phase that fixes exposure, white balance, and shot-to-shot consistency so the footage looks natural and cohesive, followed by a creative grading phase where the colorist designs a look that shapes the film's mood, atmosphere, and emotional tone. Understanding the distinction — and the order — is the key to grasping how a film's color becomes part of its storytelling.
The Dual Phases of Color Grading: Correction and Creative Application
Both stages share the same footage, but their objectives are different. Color correction, sometimes called balancing correction, is the technical step focused on fixing issues like white balance and exposure, and on matching shots so the footage is visually consistent across cameras and scenes. Writing for Minifridge Media, Andrew Osborne describes the result as a clean, neutral baseline where colors look natural and cohesive. Only after that foundation is set does creative grading take over, where artistic decisions shape the mood, style, and emotional tone of the video.
The workflow guide from CinApex Academy frames this as a hierarchy with earlier decisions that precede both stages: defining the color palette and visual direction, then maintaining color discipline during production, then technical correction, then creative grading, and finally consistency and narrative coherence. Each step builds on the previous one, and skipping or weakening an early stage directly affects the final result. In other words, the creative look of a film depends on discipline that begins before post-production, not just on a grade applied at the end.
This separation explains why color grading often gets conflated with color correction in casual discussion. Correction fixes technical problems so footage looks right; grading then makes the footage feel a certain way. The two operate sequentially, and professional colorists treat them as distinct jobs with different tools, judgments, and definitions of success.
Phase 1: Technical Color Correction – Building a Consistent Foundation
The correction pass begins once edited footage is organized. Colorist Riley Krutza, writing on his own workflow at RK Color, describes the first task as transforming footage into the deliverable color space so it looks reasonably normal on the monitor — an essential step, since a grade built in the wrong color space will not translate correctly to final delivery. From there, the colorist runs through the footage making adjustments to exposure, checking that there are no significant jumps in exposure between shots, and aiming for a consistent range of exposure on the video scopes.
Scopes matter here because correction is judged by measurement, not just by eye. A waveform or vectorscope reveals exposure and color imbalances that a monitor might hide. The goal across this phase, as Osborne notes, is visual consistency: shots from different cameras, lighting setups, or shooting days should sit together as if captured under the same conditions. Backflip's Maria Pfeil makes the same point from the editing side: color correcting fixes video image issues and ensures consistency across different shots and cameras before moving on to creative grading.
Correction also protects material that should not be graded at all. Krutza points to slideshows of photography or archival footage in a documentary as examples where a colorist may want to leave the image untouched — though he notes a practical trade-off: if the look is applied at the timeline level rather than to individual clips, it cannot be avoided. Where the correction pass is applied, in other words, is itself a decision that affects which footage receives the creative look.